This post contains affiliate links. If you buy through them, I may earn a small commission at no extra cost to you. I only recommend gear I have used myself. As an Amazon Associate I earn from qualifying purchases.
Before this trip I had one camera body and two lenses. Everything I read about safari photography said the same thing: when a lion suddenly walks out of the grass, you won’t have time to change lenses, and you really don’t want to open your camera in all that dust. So before the trip, I bought a second body. It turned out to be one of the best decisions of the trip.
Here’s the complete safari camera gear I took to Kenya: what worked, what I’d change, and the little tricks that helped me come home with thousands of photos from Amboseli, Lake Nakuru and the Masai Mara.
In This Post
My Kenya Safari Camera Gear at a Glance
| Gear | What I used | Why |
|---|---|---|
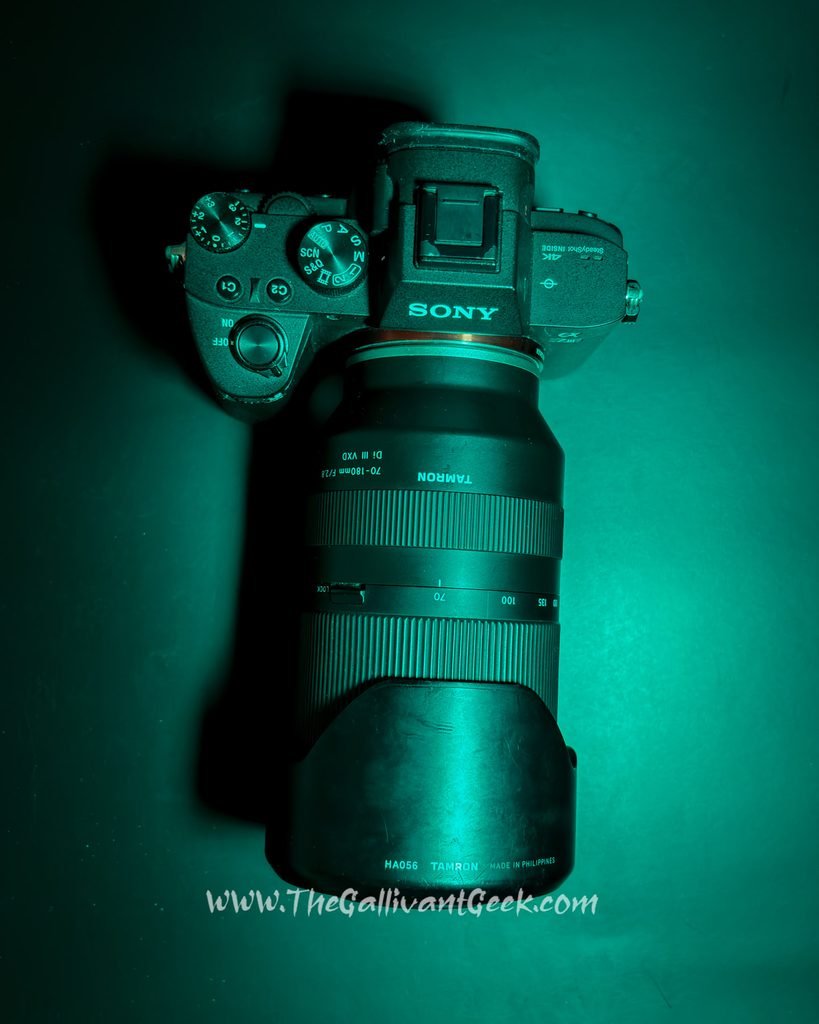
| Camera bodies | 2 x Sony A7III | Two lenses ready at all times, same menus and batteries |
| Main lens | Sigma 150-600mm Sports | Reach for leopards, lions and birds |
| Second lens | Tamron 70-180mm f/2.8 | Wider scenes and animals close to the vehicle |
| Support | Camera beanbag | Stable support on the vehicle window or roof |
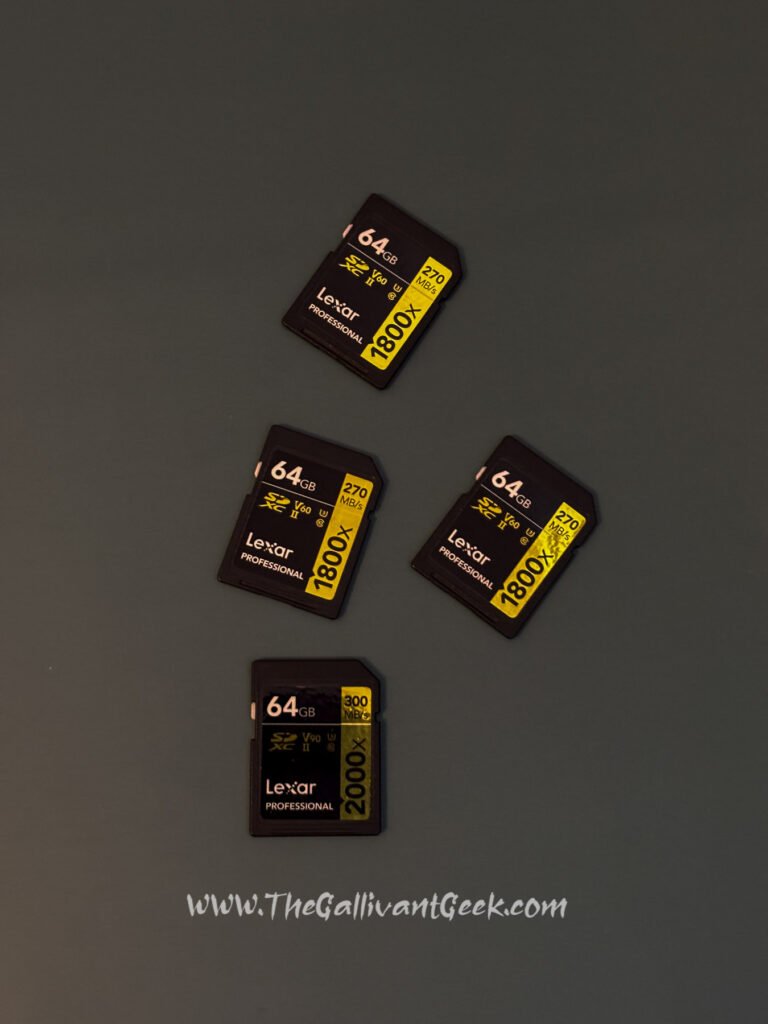
| Memory cards | 5 x 64 GB Lexar SD cards | Swap cards daily, never delete in the field |
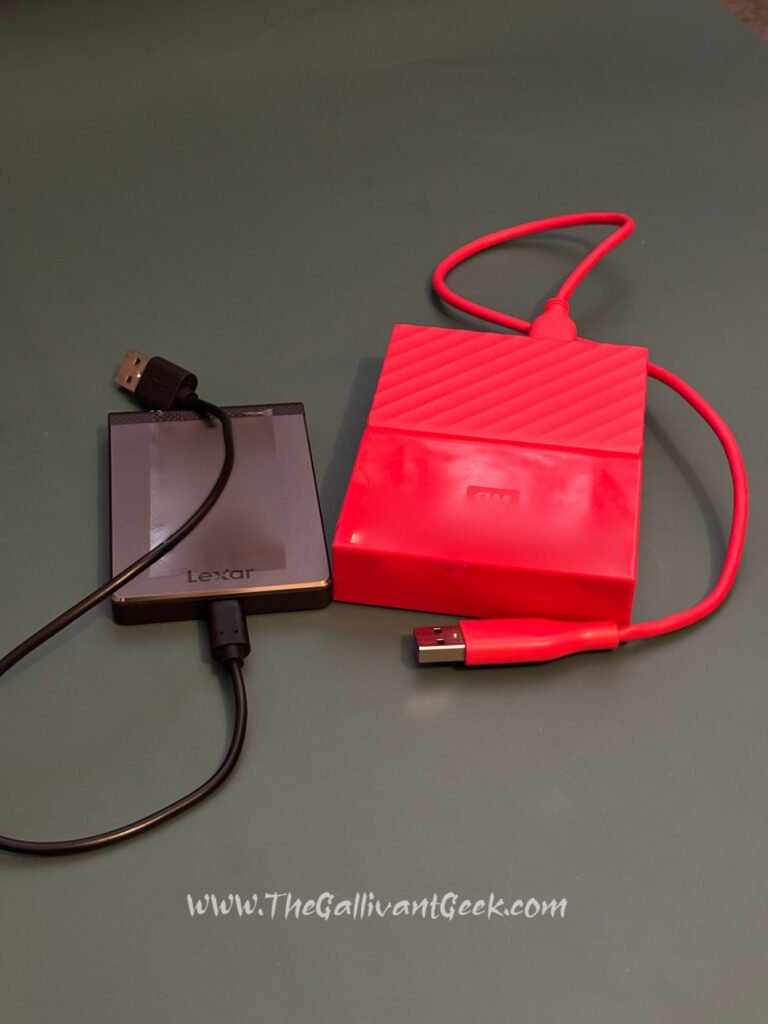
| Backup | Lexar 500 GB SSD, WD 1 TB portable hard drive and a laptop | Two copies of every photo each night |
| Batteries | Spare Sony NP-FZ100 batteries | Full days in the field with no charging |
| Video | GoPro HERO9 Black and my phone | Behind-the-scenes clips and stories |
Why I Took Two Camera Bodies
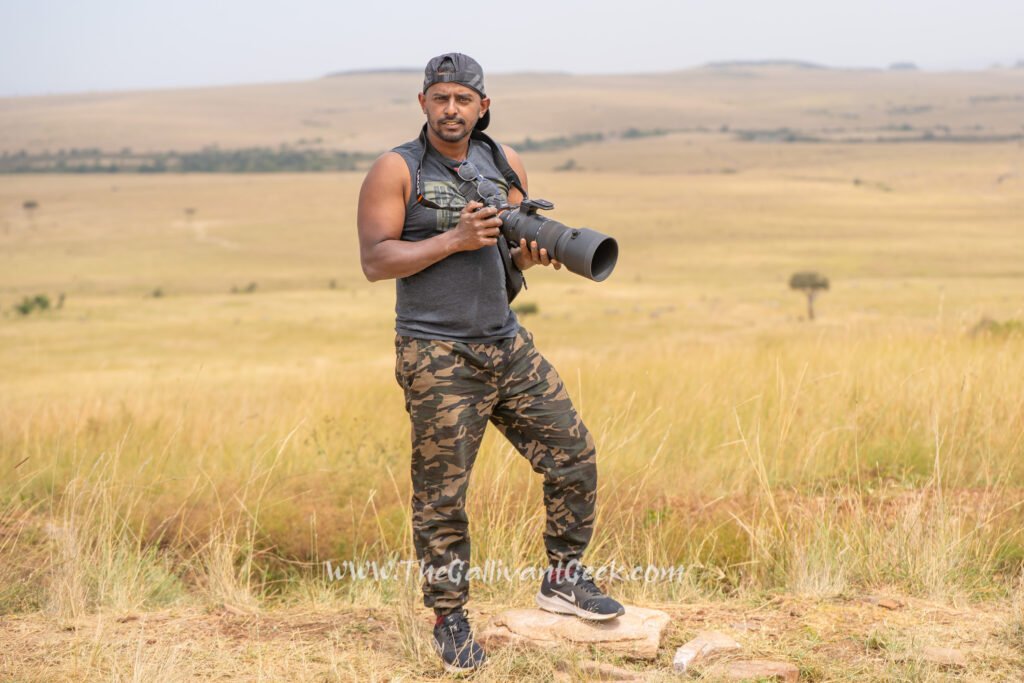
I had always shot with one Sony A7III, and I love it. When I decided I needed a second body for the safari, I simply bought another A7III. It might sound boring, but using two identical cameras has big advantages: the same menus, the same buttons, the same batteries and the same settings. In a fast moment, you never have to think about which camera you’re holding.
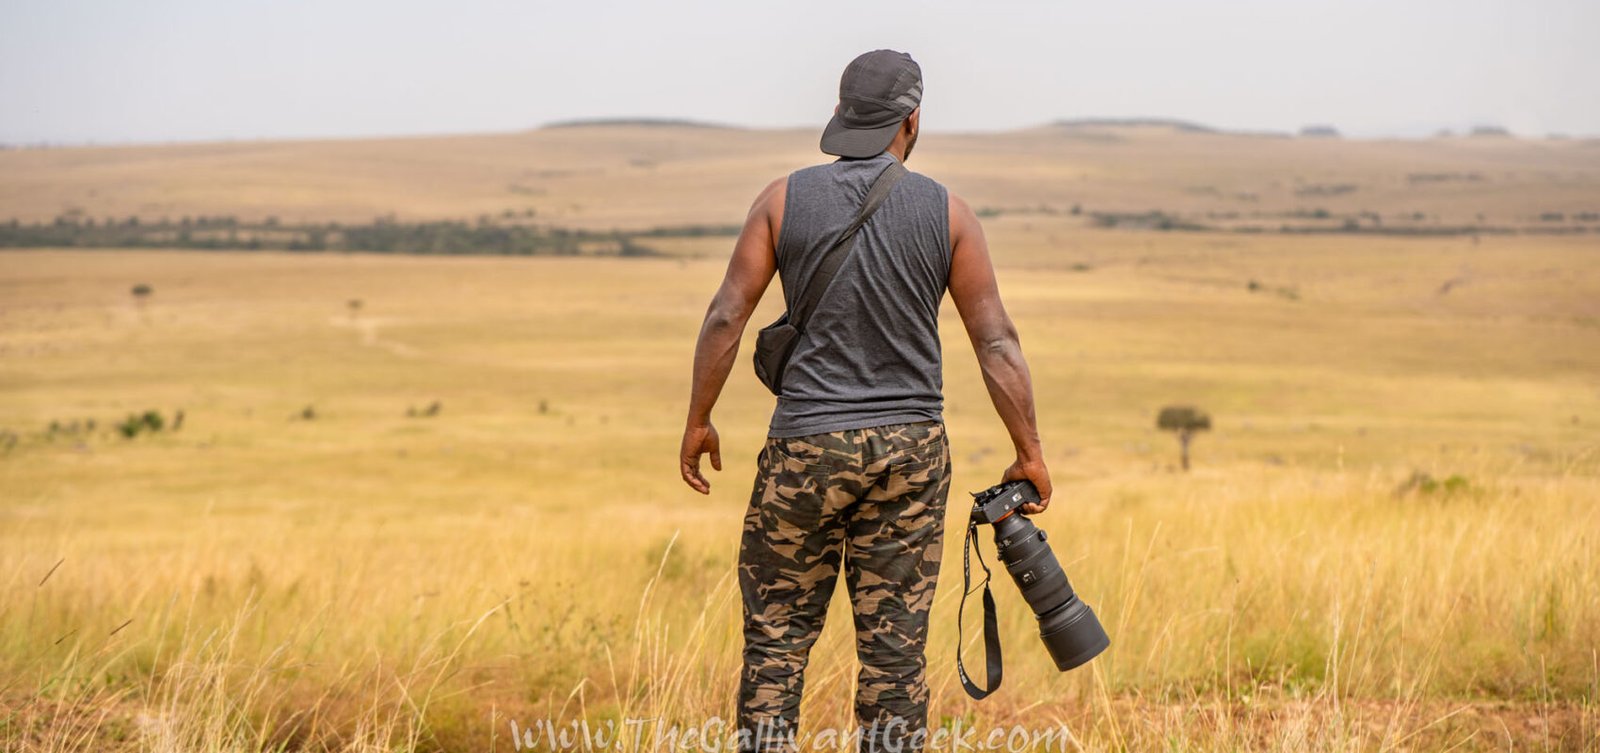
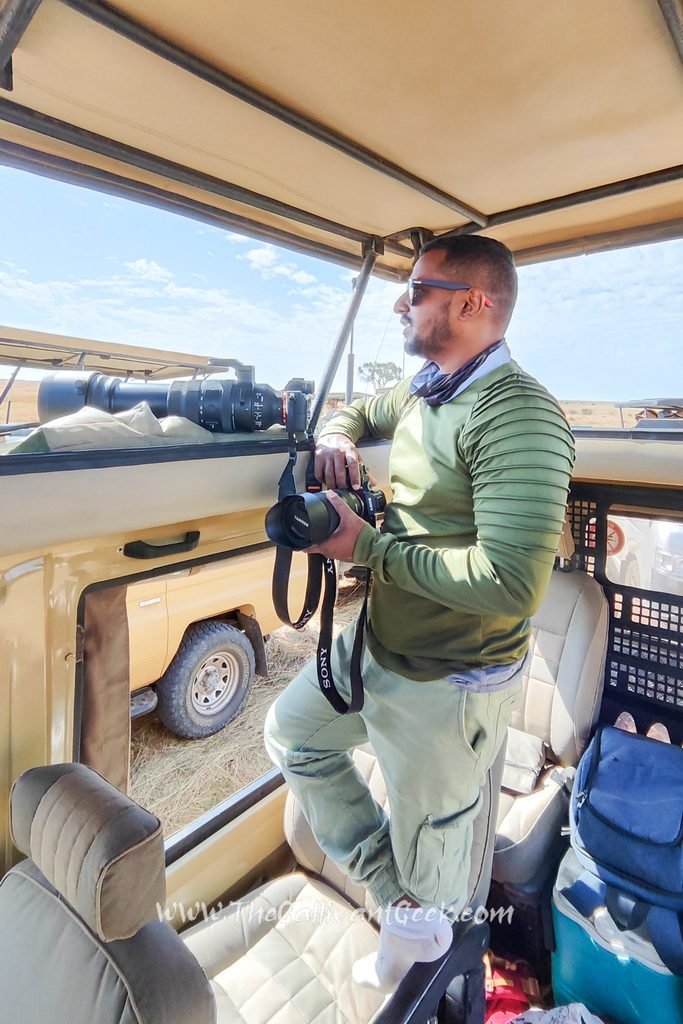
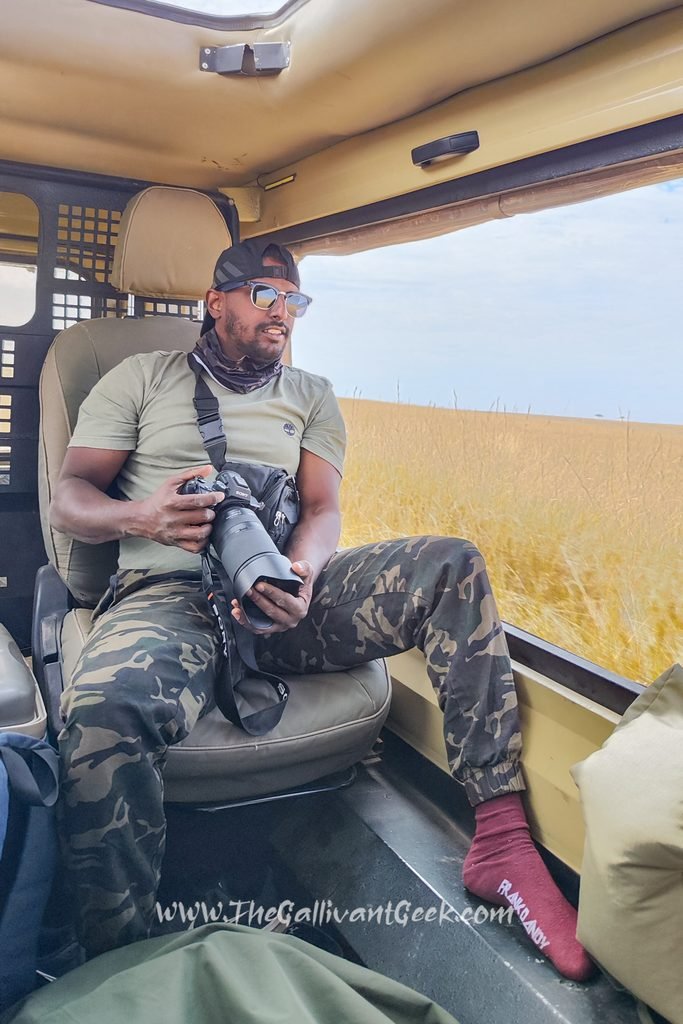
On safari, one camera had the long lens and the other had the shorter zoom. When animals were far away, I used the long lens. When a lion walked right up to our vehicle, I grabbed the second camera. No lens changes, no dust on the sensor and no missed shots.
The Lenses: Sigma 150-600mm and Tamron 70-180mm
Sigma 150-600mm Sports: my main safari lens
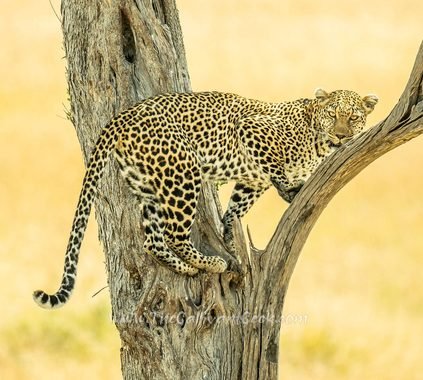
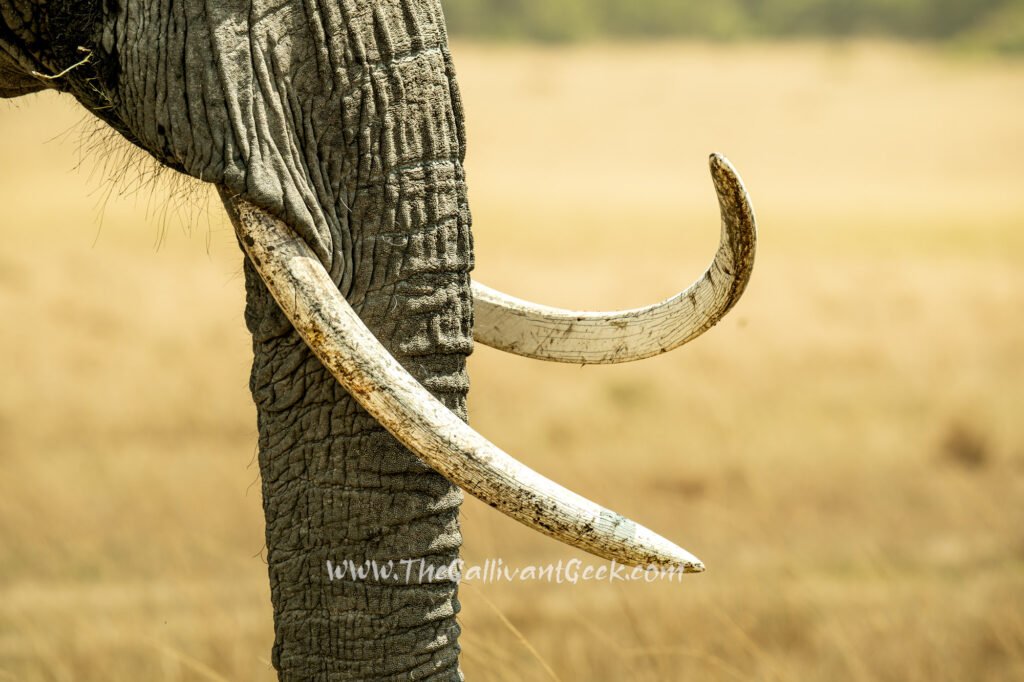
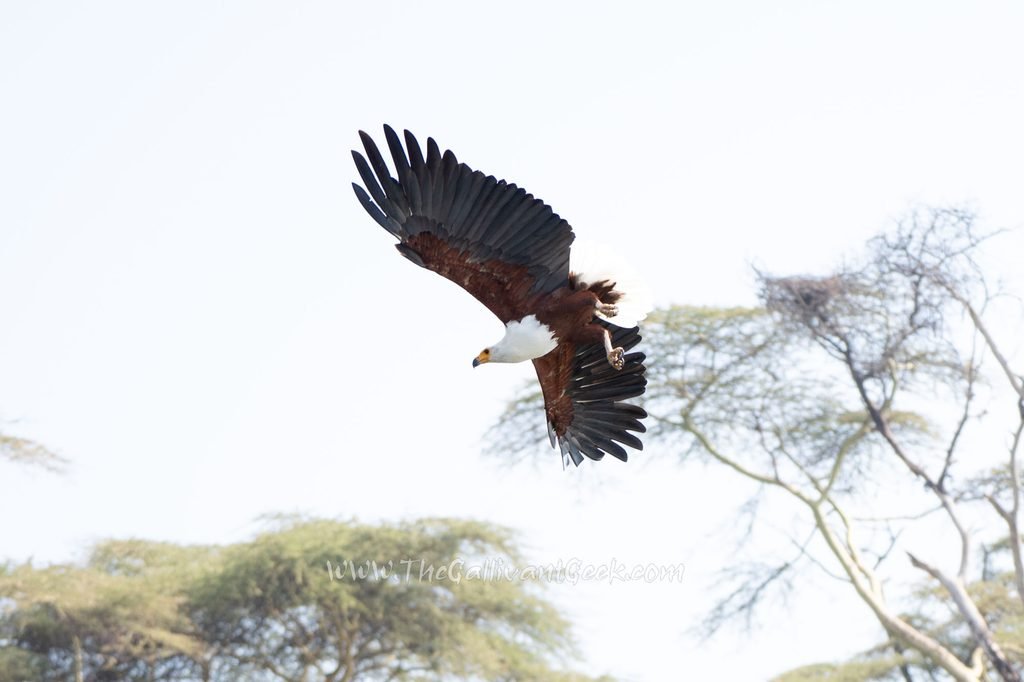
The Sigma 150-600mm Sports is the lens that started my dream of the Masai Mara in the first place, and it lived on my camera for most of the trip. The reach is perfect for safari. At 600mm I could fill the frame with Luluka the leopard in her tree, pick out Craig’s tusks in Amboseli and photograph birds on Lake Naivasha. If you only bring one lens, make it a long telephoto zoom in this range.
Tamron 70-180mm: for close encounters and landscapes
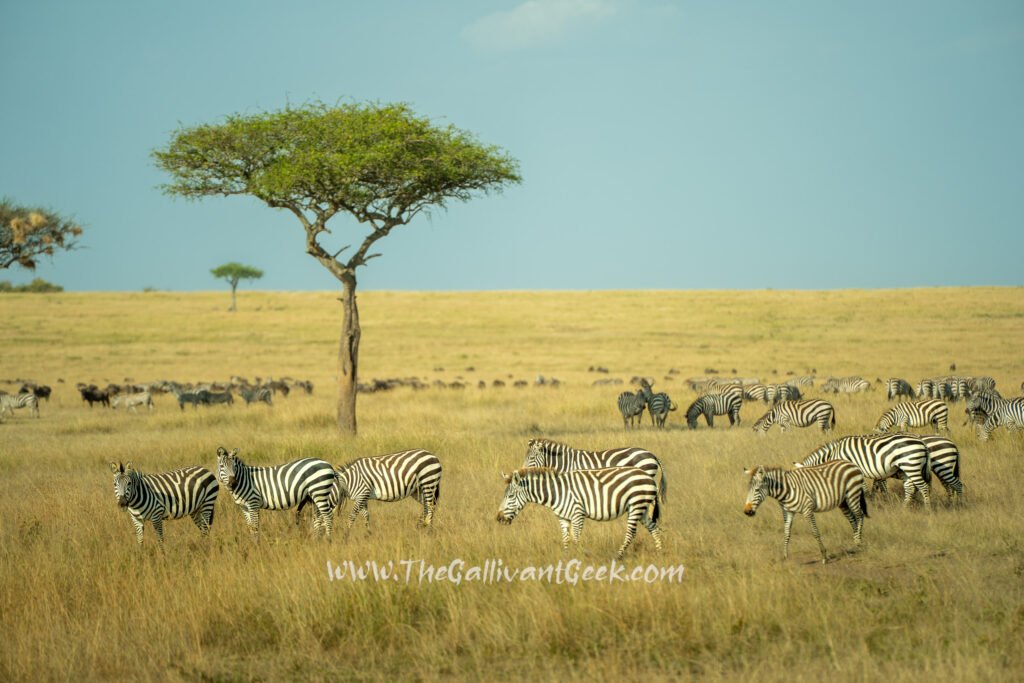
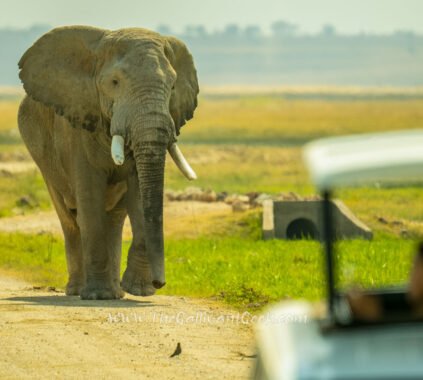
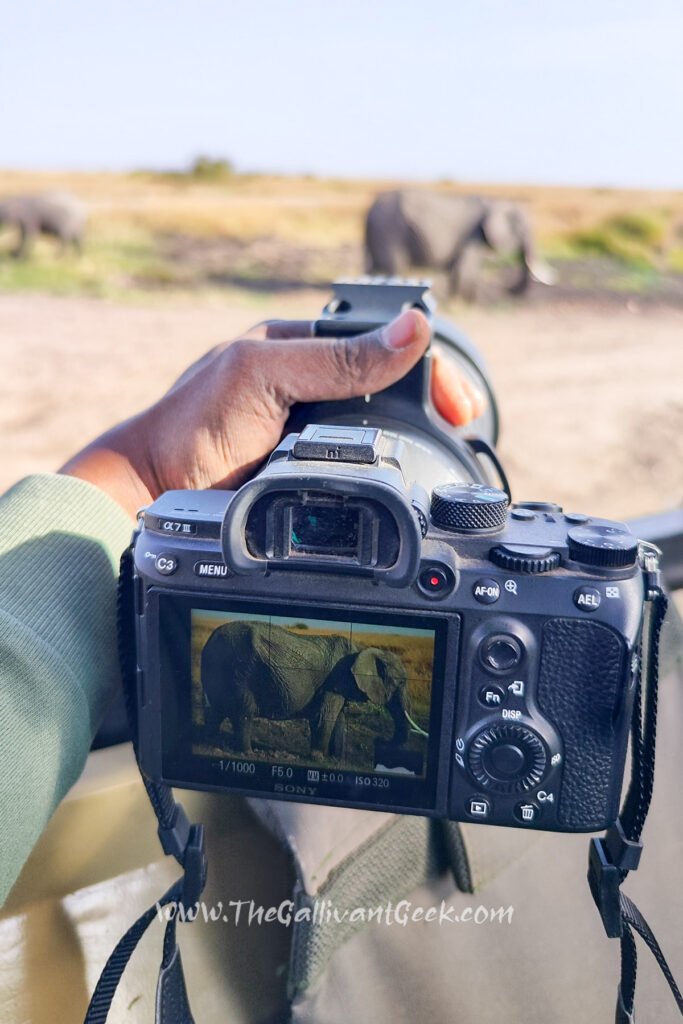
The Tamron 70-180mm stayed on my second body. It was perfect for elephants walking past the vehicle, the lion that lay down right next to us in the Mara, and wider shots that show animals in their landscape. Don’t underestimate how close animals can get on safari. There were moments when 150mm was already too long.
Beanbag vs Tripod on Safari
I thought about bringing a tripod, but almost everyone advised against it. Inside a safari vehicle there’s no room to set one up, and it’s far too slow. Instead, most wildlife photographers use a beanbag: you simply rest it on the window frame or the edge of the pop-up roof and put your lens on top.
Some photographers still bring a tripod for low-angle shots, holding it upside down out of the vehicle and firing the camera with a remote trigger. I didn’t want to take that risk, or the extra weight, so I left mine at home. I also checked with our tour operator before the trip, and they agreed it wasn’t needed.
Tip: travel with your beanbag empty to save luggage weight, and fill it with rice or dried beans when you arrive.
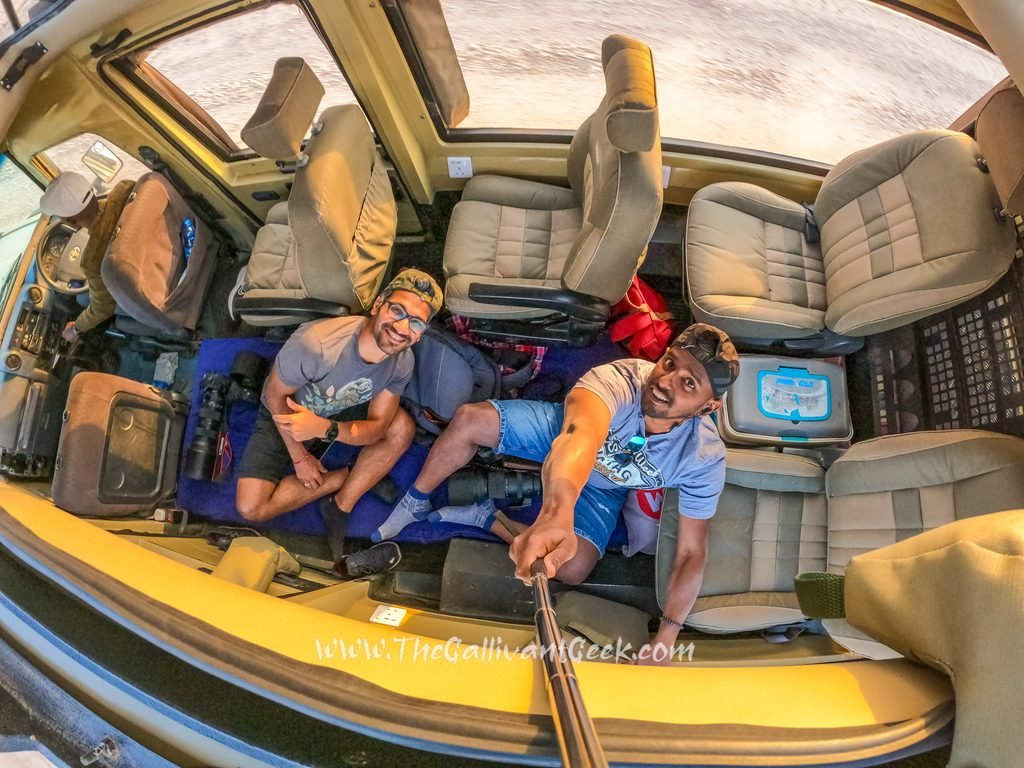
Our comfort trick: since we were only two, we asked our driver to put a mattress on the floor of the vehicle. Sitting on it was far more comfortable than sitting on the seats and bending our backs for every shot, and it made full days of shooting much easier.
Why I left my drone at home
I was planning to bring my drone too, but in the end I left it at home. Flying a drone is not allowed in most of Kenya’s national parks and reserves without special permission, and getting that approval means registering with the Kenya Civil Aviation Authority and getting written permission from the park authority. For a short trip it wasn’t worth the paperwork, and an unpermitted drone can be confiscated on the spot.
Memory Cards, Backups and Storage
This is the part I underestimated. I took at least 1,000 photos every day, plus wildlife videos and behind-the-scenes clips. By the end of the trip, every card, my SSD and my hard drive were full. Here’s what I brought:
- 5 x 64 GB Lexar memory cards. Fast cards matter: when you shoot bursts of a leopard climbing a tree, a slow card fills the buffer and your camera stops shooting at the worst moment.
- 1 x Lexar 500 GB SSD for fast nightly backups.
- 1 x WD 1 TB portable hard drive as a second copy.
- A laptop to copy cards and check the day’s photos.
Every evening after dinner I followed the same routine: copy all cards to the laptop, back up to both the SSD and the hard drive, charge every battery and get the clothes ready for the next morning’s 5:30 start. If I did it again, I’d bring more storage than I think I need, especially bigger or extra memory cards.
Batteries and Charging
Full-day game drives mean 13 hours or more in the field without a power socket. Bring at least two or three spare Sony NP-FZ100 batteries per camera and charge them all every night. Kenya uses the same Type G three-pin plugs as the UK, so pack a travel adapter too. A multi-port charger saves a lot of time in the evening.
Protecting Your Camera from Dust
Kenya’s parks are extremely dusty, especially on the roads between parks and in Amboseli. Keep your lenses covered whenever you’re not shooting.
My favourite trick: skip the lens cap. Putting a cap on and off takes too long when an animal suddenly appears. Instead, drape a small towel or cloth over your camera and lens. One quick grab and you’re ready to shoot. In the evening, clean everything with a blower and lens cloths.
Video and Behind-the-Scenes
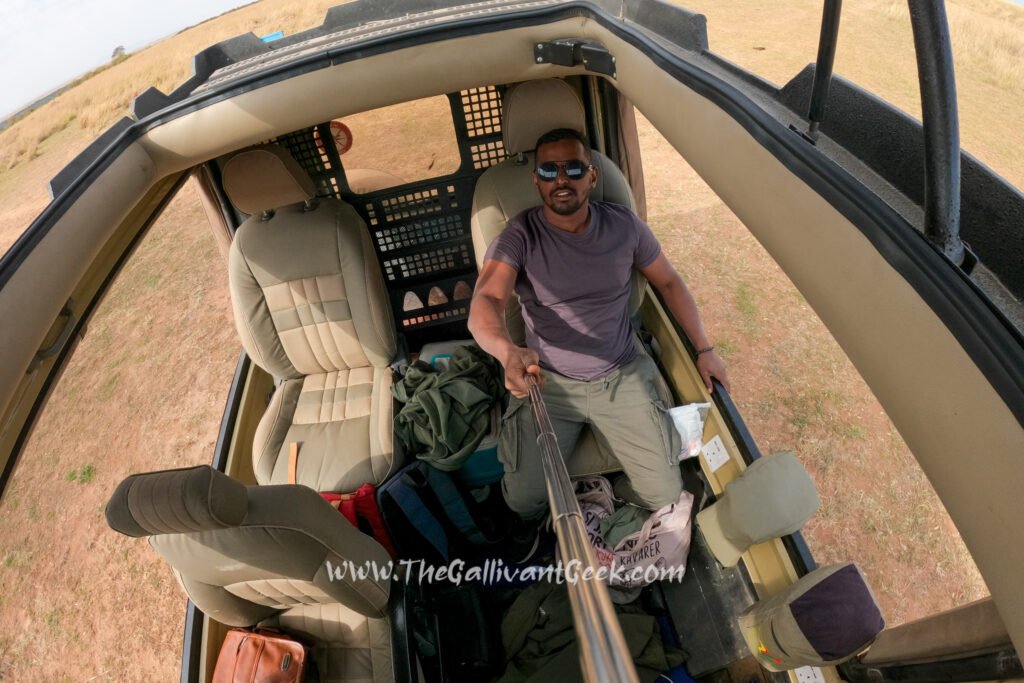
Besides the two cameras, I brought a GoPro HERO9 Black and used my phone for behind-the-scenes clips and quick videos. These are great for stories, reels and remembering what the day actually felt like, and they don’t take any attention away from the main cameras.
Camera Settings for Safari Photography
Every situation is different, but a few starting points work well on safari:
- Fast shutter speed for action, such as a leopard climbing or a charging elephant: 1/1000s or faster.
- Continuous autofocus with burst mode for moving animals.
- Auto ISO with a fast minimum shutter speed, so you can concentrate on composition.
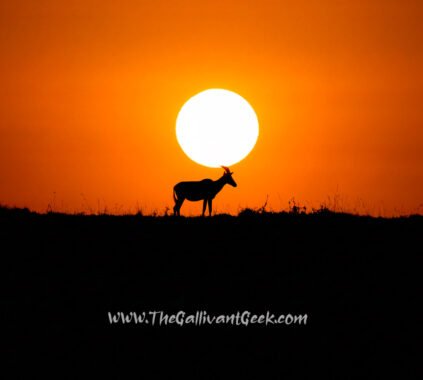
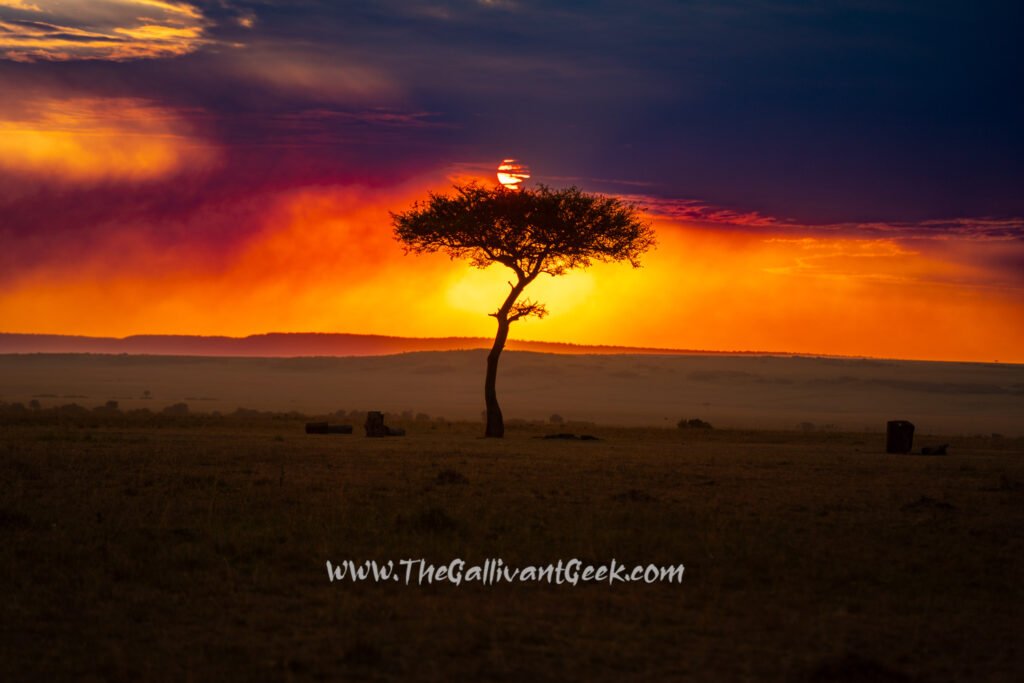
- Expose for the highlights in harsh midday light, and use sunrise and sunset for softer colours and silhouettes.
What I Would Change in My Safari Camera Gear
- More memory cards and a bigger backup drive.
- More spare batteries, so I don’t have to charge everything every single night.
- The two-body setup and no tripod: I’d do exactly the same again.
Safari Camera Gear FAQ
What is the best lens for a Kenya safari?
A telephoto zoom that reaches 500 to 600mm, like the Sigma 150-600mm, is the most useful lens on safari. A second, shorter zoom such as a 70-180mm or 70-200mm covers animals close to the vehicle and wider scenes.
Do I need a tripod on safari?
Usually not. There is little space in a safari vehicle and a tripod is too slow. A beanbag resting on the window or roof is faster and more stable.
Do I need two camera bodies for a safari?
It is not essential, but it really helps. With two bodies you can keep a long lens and a shorter lens ready at the same time and avoid changing lenses in the dust.
How much memory card space do I need for a safari?
More than you think. I shot at least 1,000 photos a day and filled five 64 GB cards, a 500 GB SSD and a 1 TB hard drive in nine days.
See this safari camera gear in action in our five days in the Masai Mara, or follow the whole trip in our 9-day Kenya safari itinerary. Planning your own trip? Start with how we planned our Kenya photo safari. My posts on meeting Craig the super tusker and my Kenya safari tips are coming soon. And if you enjoy wildlife photography, don’t miss my Atlantic puffin photography trip to Runde, Norway.
All the wildlife photos in this series were taken with this gear, and many are available as prints: 👉 Kenya Wildlife Photo Prints – Shutter Story
Join My Wildlife Photography Tour
Reading this and dreaming of your own safari? I’m putting together a small-group wildlife photography tour: about 10 days with a photographer’s pace, long days in the field and plenty of time at every sighting. The destination is still being decided, so follow along to be the first to know. Send me a DM on Instagram at @mnmshakir and I’ll share the details.